| Administrator Handbook | Table of contents |
|
The router object is defined in the router tree of LoriotPro to simplify the management of router. The router object is used to represent any device or host that forward IP packets or act as an IP router. The router object is not located in the LoriotPro directory. A router is a list of IP hosts, one for each of the router interfaces, more precisely one for each of its IP addresses.
Each host object has a RouterID property that identify the list, a virtual router,� to which it could pertain. This property is a reference IP address, generally the first host IP address of the list. LoriotPro uses the icon property of this host reference to display the router in the map.
To exist, a router objetshould have at least one interface. Any host defined in the Directory could become an interface (entry of the list) of a router. Router are not displayed in the directory therefore they have their own tree, the router tree.
In the example above the C2500-11-7 router objethas two network interfaces, only one (10.33.10.121) is activated and monitored.
Router object manual creationRouters are automatically created by the Discover process which detects from the gathered SNMP information, the hosts to include in a router interface list. However, It is possible to manually create a router. You should first create the hosts associated to each interface. If the router objethas network interfaces without IP address, you cannot administer them directly from LoriotPro, though you could gather information about them by SNMP requests sent to activated network interfaces.
A router object could be inserted either from ‘the router tree’ or from the contextual menu of the� ‘Internetwork� Map’.
Remark: The router insertion from the Internetwork map contextual menu allows you to put the router icon directly at the desired position in the map.
Insertion from the router treeTo insert a new router, either click with the right mouse button in the router tree window, the contextual menu appears or by selecting the ‘Add Router’ option from the main menu :
Routers>Add Router
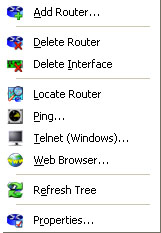
Router insertion with the contextual menu of the router tree
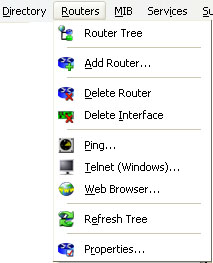
Router insertion from the main menu

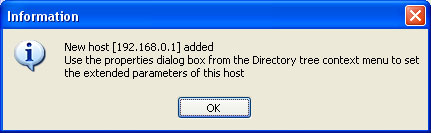
An informational message notifies you that the router objetshould have at least one interface and this one should be an existing host in the Directory.
To continue, click OK.
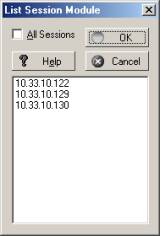
A window appears with a list of hosts available in the Directory and that are not used as network interfaces of other routers. If the IP address of the interface that you want to set, are in the list, just select it by a click and then click OK else Cancel.
In the example below, we wanted to create a router objetfrom nothing thus we select Cancel button.�

List Session Module
The router insertion window below appears with all fields empty.
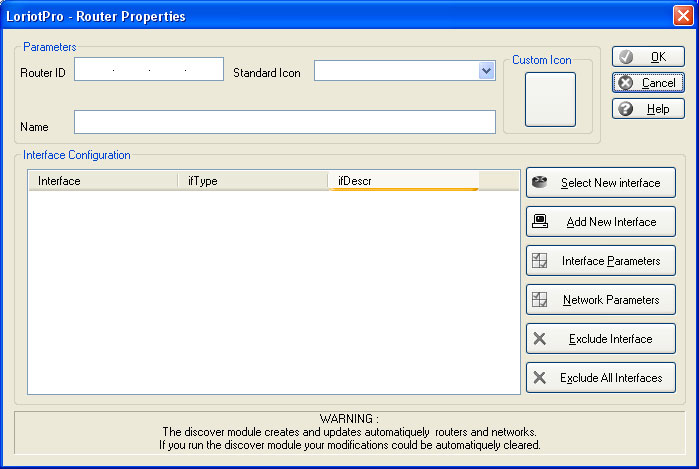
Router properties window
As example, we will create a router objetwith two network interfaces,
One with the 10.33.10.140 IP address located in the 10.33.10.0 network, the second with the 192.168.0.1 IP address located in the 192.168.0.0. network.
Both network interfaces have no existence as hosts in the directory therefore we should create them.
To perform that, we click on the ‘Add New Interface’ button.
![]()
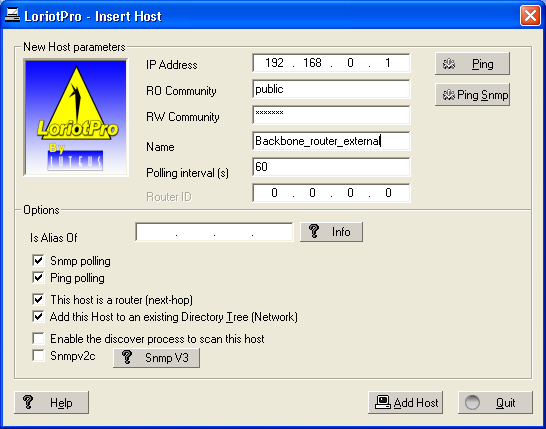
The host insertion window appears. We fill the fields as below.
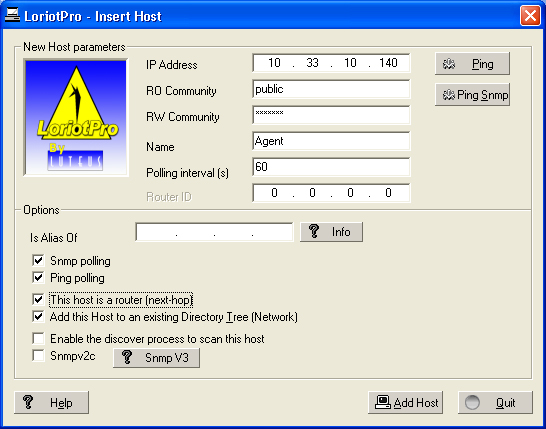
Insert host dialog box
The first host is created with simple options; we could modify them after while. We selected the option ‘Add this host to an existing Directory Tree (Network)’ to force the creation of the object in the Network container Object. We validate the new host by a click on the ‘Add Host' button.
We insert the new host for the interface 192.168.0.1 by the same way.
Second host creation (router interface)
The network 192.168.0.0 does not exist in the Directory, the software notifies you that it will be created.
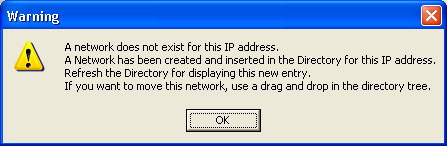
We have to enter the network properties.
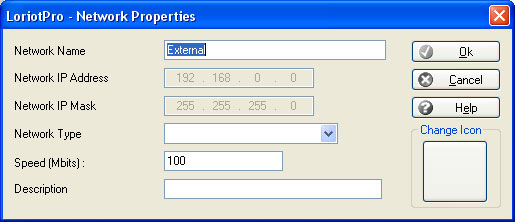
network object creation
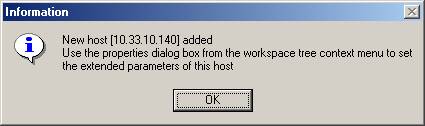
Click on OK, and the confirmation window notifies you that the host 192.168.0.1 is the second interface of the router.
Back to the router propertie window, we see that the list is made of two network interfaces, the created hosts.
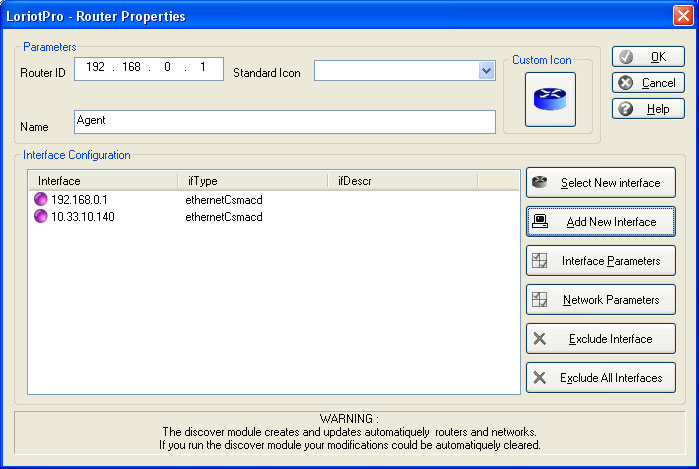
The IP address used as� RouterID for both hosts, is 10.33.10.140. We could now give a name to the router objet(Router_02) and setup the other parameters.
Remark: By double clicking on the IP address in the list, the host advanced property windows appears.
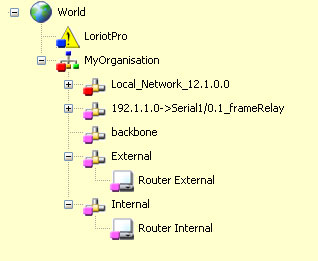
At last, if we look at the router tree window, we see the new Router_02 object.
Remark: In our example, both interface of the Router_02 are administered with SNMP. If after four consecutive requests without answers, the interface status becomes red to notify you that the router is not longer responding. The color of the router object or icon is the most critical status of one of its network interfaces.
�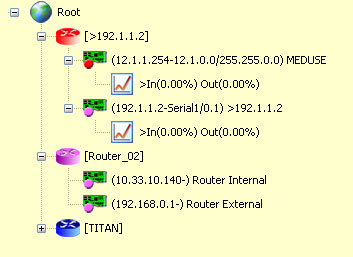
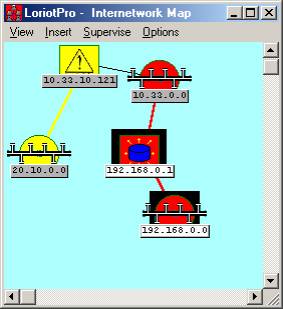
Router_02 in red status
In the example above, the router_02 is red because the interface router_backbone is red and the other yellow. The router tree window is regularly updated to help you to take efficient and reactive actions when something goes wrong.
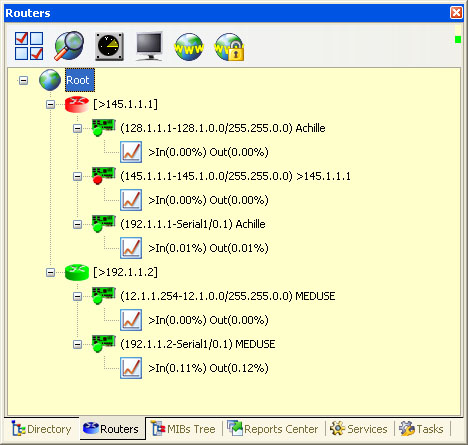
In the screen capture below, we see the router icon in red.
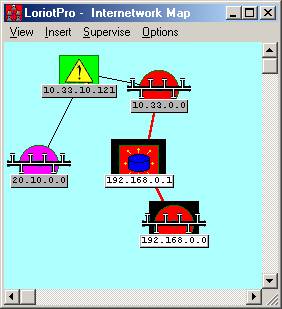
The associated hosts have been inserted by the Discover process.
Hosts inserted in the Directory
To configure an existing router, you can use the contextual menu, go to the router tree, right click on the router objetand choose Properties.
Or select the router by a left click in the router tree and then, from the main menu, choose :
Routers>Properties…
Remark: To access the provided configuration options, you should first select an interface in the list.
�� 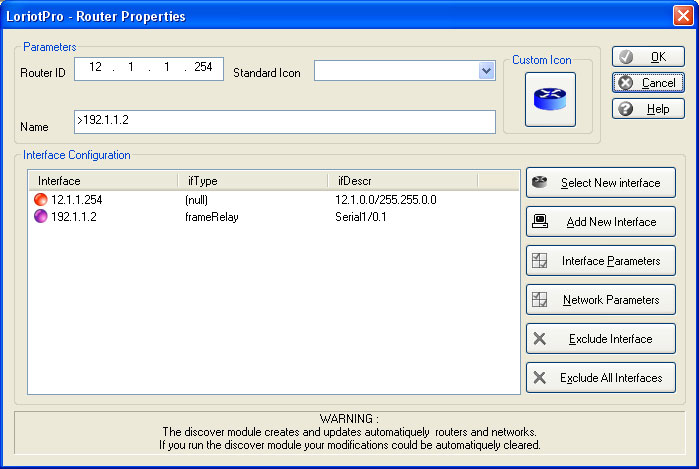
Table of advanced router properties
| Param�tres |
Explications |
| Router ID |
This parameter could not be modified, it is common to all network interfaces in the list. |
| Standard Icon |
Allow you to change the default icon. |
| Name |
Allow you to give a name to the router |
| Select New Interface |
Open he list of available host in the Directory |
| Add New Interface |
Call the host creation window |
| Interface parameters |
Select an interface in the list, the advanced host configuration window is open. Remark: A double click on the IP address as the same effect. |
| Network parameters |
Select an interface in the list, the network configuration window is open. |
| Exclude interface |
Select an interface in the list. The interface is discarded from the list but the host still exist in the Directory. Remark: Only the routerID of the host is set to 0.0.0.0. |
| Exclude all network interfaces |
All network interfaces are discarded. Remark: All host RouterID parameter are set to 0.0.0.0.
|
| |
Allows you to select another icon instead of the default. � |
It is possible to perform specific tasks from the router tree contextual menu.
Table of otpions of the contextual menu
| Functions |
Explanations |
| Add Router |
Add a router objetin the tree |
| Delete Router |
Delete the router object (not the hosts) from the tree and from the maps. |
| Ping |
Perform a Ping on the reference IP address, the first in the list called Router ID. |
| Telnet |
Perform a Telnet on the reference IP address, the first in the list called Router ID. |
| Web Browser |
Start your preferred WEB navigator on the reference IP address, the first in the list called Router ID. |
| Refresh Tree |
Perform an immediate refresh of the router tree windows. |
| Properties |
Call the router property window. |
Remark: A double click on the router performs a Telnet to the reference IP address but a double click on an interface call the advanced host property window
|
 �
�